
While utilizing wooden-hulled watercraft, it is common for boaters if their crafts occur woot rot. Aluminum vessels can keep you from getting this problem. Aluminum, unlike fiberglass, does not break. As a result, aluminum crafts are simple to repair and replace.
Even so, an aluminum craft can still be damaged, hard-ground, or collide with other objects. These issues are likely to increase the possibility of cracked rivets and leaks. Thankfully, simply using brazen rods can fill up and patch holes or leaked seams in your broken crafts.
As a result, this article is here to present useful guidelines on how to repair aluminum boats in different situations and other tips about fixing aluminum boats that can be applied in real circumstances.
To sum up, there are different types of aluminum boat patching methods that you can proceed with while dealing with cracks or collisions from your damaged aluminum craft :
- Repairing a hole with epoxy
- Fixing a crack in the hull of the boat
There is also certain knowledge about repairing an aluminum craft and some notices you need to remember about fixing boats in each situation. Therefore, stay tuned!
Table of Contents
Feasible Problems Needed to Be Fixed on Aluminum Vessels
As I have mentioned above, aluminum boats are vulnerable to hard grounding and collision. These crafts require significant maintenance, especially those running in seawater. Fortunately, you can handle most of the repairs yourself if you’re familiar with the intricacies.
In this part, I will introduce some possible issues you may encounter with your aluminum boats and information that could help you to deal with these problems in a breeze. Continue reading to learn more:
1. Handling Dents
The boat’s hull can be dented inward by the force of a collision. You should begin by having someone carry the anvil when you use a hammer. For restoring the dent into a flat condition, pound it or the hill-like shape with a hammer.
To provide a backstop, the individual who serves as your helper should use a one-hand anvil. By straightening and pounding the hull, it flattens out. To return to its former shape, the damaged aluminum surface must expand.
2. Holes and cracks
Some dents occur with holes and cracks, which require additional treatment. The first step is to figure out how big a particular gap or fracture is. This technique might be aided by using aluminum scrap sheets.
On those thin aluminum strips, you should apply epoxy for aluminum boats then bond them to the boat’s bottom. This is how you’ll be able to achieve your target of filling the cracks. It will serve as a cradle for certain materials, such as brazen rods.
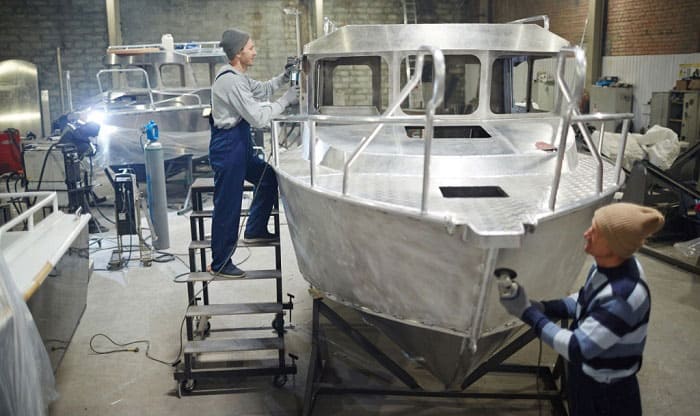
Items for Repairing Aluminum Boats
Although fixing aluminum crafts seems to be easy and can be done effortlessly, that can only happen if you are well-equipped with top-quality aluminum boat repair products. Therefore, here is our suggested list of needed tools to deal with your aluminum vessels:
1. Regular set of tools
- Acetone
- Particle masks
- Rags
- Body hammer
- Hand anvil
- Gloves
2. Special aluminum boat repair kit
- Aluminum boat repair epoxy glue
- Aluminum scrap metal
- Strips and thin gauge
- Drill motor
- Sandpaper
- Brazen rods
- Flat file
Fixing Damages in Aluminum Boats
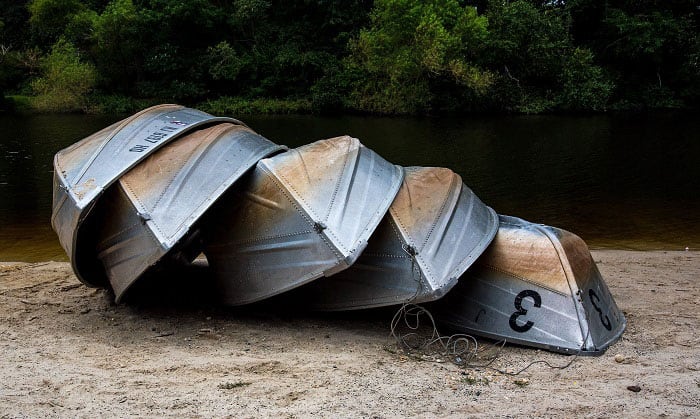
In spite of the convenience and affordable price, all aluminum crafts may suffer certain impacts such as collision and hard grounding which can create leaks or cracked seams. Fortunately, many special tools have been designed to patch and repair leaked rivets in aluminum vessels.
This section will provide detailed tutorials on how to handle cracks, holes or other damages in your aluminum boat hull by using specialized tools. Here are some of the examples:
1. Fixing a crack in the hull of the boat
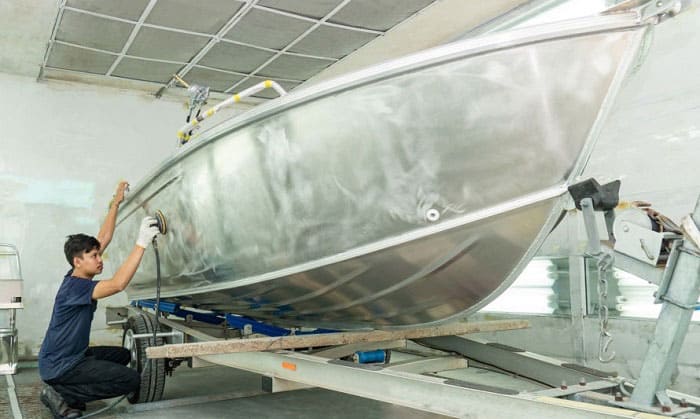
Step 1: Take the boat out of the water and bring it to a secured dock or garage for repairing the damage. After measuring the size of the hole, clean the broken craft’s area with acetone and rags to remove all dirt and stains caused by chemical water.
Step 2: Arrange the vessel in such a way that the hole or fracture is facing up at its highest point. Wear a mask and gloves and prepare the hammer with an assistant holding your hand anvil. If the aluminum boat suffers a collision, you need to pound the dent from the inside of the hull.
Tap and straighten the hull repeatedly until the profile comes back to its original form. After that, use the measurement of the hole’s sizes that you have calculated beforehand and cut off a piece of aluminum scrap trips to patch the hole.
Step 3: Apply a reasonable amount of epoxy for aluminum boats on the strip and stick it to the boat’s underbelly directly to cover the hole. This will act as a trough so that the brazen rod can settle into.
Utilize a motor drill and a grinding bit to grind a V-shaped tunnel in the hole. You should only grind enough space for the brazen rod to be added later. Then, use sandpaper for sanding the overlying cracks from both sides.
Step 4: To start, you should use a butane torch to fully heat the crack’s surrounding area. To roughen up the aluminum part, use crosshatch strokes and scrape the area with a brush. Maintain a constant heat source on the crack while applying a brazen rod to the crack’s sidewalls.
The brazen will melt, flow into the hole and then fill the missing gap. While waiting for the worked area to cool down, brush it over the damaged area to cover the crack entirely. Also, remember to remove the extra slag and residue.
Step 5: Grind away extra brazen material stretching past the aluminum panel with a flat-file. Then, remove any scrap metal residue from the hull’s underbelly.
You and your crew can turn the vessel over and sand the inner section of the hole’s surrounding area for enhancing strength and protection. Apply a second bead of heated brazing rod to the seam, then grind it down.
2. Repairing a hole with epoxy
Surprisingly, the technique to fix a crack in a boat’s hull is pretty much the same as methods used to repair a hole with epoxy.
Step 1: Clean and flatten the aluminum surface
Bring the damaged hole back to its original shape by doing the similar technique to fix a boat hull. Also, soften the aluminum edges with grit sandpaper and remove paint from both sides of the hole.
Step 2: Create the patch
Cut some pieces of plastic or aluminum strips and brush the epoxy glue on both surfaces of each plastic and aluminum piece. Then, apply each patch over the hole and smooth it with the thickened epoxy mixture to ensure no air is trapped.
Place patches carefully in the centre of the outside and inside the hole. When you finish, leave the patches to dry overnight and eliminate any roughness surrounding the hole the day after it.
Step 3: Finish the patch
To complete the patch, apply a mixture of epoxy glue and density filler to improve the strength of the patch inside-out. You can also repaint the boat or only the repaired parts as camouflage. Now, your craft is ready to be tested on the water!
Conclusion
Having a broken aluminum boat with several leaks and cracks that may cause shipwreck at any time soon is such an unpleasant experience. Fortunately, by following these instructions, you can easily patch holes and leaking seams in your aluminum vessels and not worry about sinking when you are absent.
Did you enjoy the article on how to repair aluminum boat? Do you want to add anything else? Please let me know and leave a comment below.

Ten years of enjoying countless trips on boats never made me love them any less! So I am here to put all those experiences into good use for other boaters who want to have a safe and fun trip with their friends and families.