
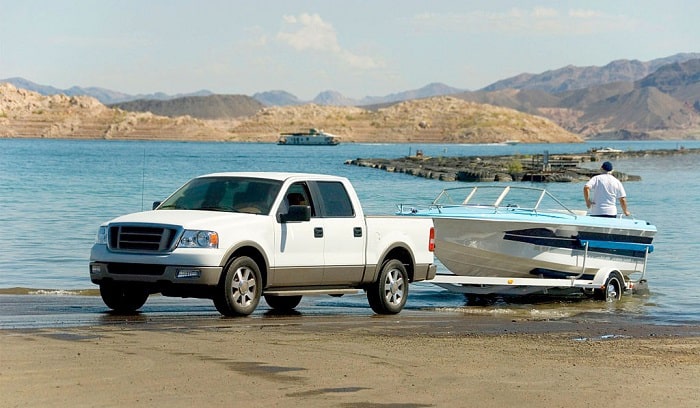
Does your boat feel tippy on the trailer whenever you bring it home from the water? If your watercraft looks wobbly during transport or storage, you might want to make adjustments to its trailer resting platform. You can do that if you know how to properly adjust the bunks on a boat trailer.
Adjusting the boat bunks is a straightforward process that only requires a few tools and attention to detail. You can stabilize your watercraft during transport, making you feel confident about its safety out of the water.
Are you curious as to how to adjust the boat bunks on your trailer? Read along.
Table of Contents
Things You Need for This Tutorial
Adjusting the boat bunks on your trailer is not difficult because it only entails a few tools for loosening and tightening the bracket screws.
1. Trailer Owner’s Manual
I cannot emphasize this enough because the owner’s manual contains torque specifications for each trailer fastener. You cannot underestimate the importance of tightening the screws properly.
Over-tightening the screw can damage it and leave you with more work. Over-torquing can destroy the screw’s pre-tapped threading or snap its head altogether. You might also strip the screw, rendering it useless.
The owner’s manual also gives you information about the trailer’s keel roller and boat bunk location. Knowing this beforehand will help fast-track the bunk adjustment process.
2. Fastening Tools
You will also need an adjustable wrench, a screwdriver, or a torque wrench to adjust your boat trailer’s watercraft lift bunks. While an adjustable wrench is sufficient in most cases, I recommend using a torque wrench to ensure the correct tightening of the bolts.
Steps to Adjusting Boat Trailer Bunks Properly
Step 1. Check your boat’s keel
The first step to adjusting boat trailer bunks is assessing the boat’s keel, especially how it sits on the trailer’s keel rollers.
It is essential to remember that the keel carries about 70 percent of the boat’s weight. That is why it is crucial to assess this part of your boat to determine if it receives adequate support from the trailer.
Squat in front of your trailer and see if the keel is resting squarely on the rollers. If this approach does not allow for an accurate visual inspection, you might want to position yourself under the trailer.
Assess all keel rollers to see if they are in contact with the boat’s keel. If the keel rests securely on the rollers, congratulations! You can skip Step 2 & go to step 3 for instructions on adjusting boat trailer skids.
Step 2. Adjust the keel rollers
If your initial assessment revealed that the boat keel does not rest securely on the rollers, you must adjust the roller brackets.
Loosen the screws that fasten the front roller brackets using an adjustable wrench. Wiggle each brace, ensuring the correct positioning against the keel. You will want the hull to rest securely on the keel roller. Do the same procedure on the rear keel roller brackets.
If it is impossible to adjust the keel rollers with your boat on the trailer, you might want to note the gap between the rollers and the hull. Launch your watercraft into the water and adjust the keel rollers’ height.
This approach can be tedious because you might have to perform it several times until you get a secure fit on the rollers.
Step 3. Adjust the front boat bunk brackets
Once the boat’s keel is resting squarely on the rollers, you can focus your attention on the boat bunks. You might want to check your trailer owner’s manual to determine the bunk guides’ location. In general, these will be on the lower third of your boat’s hull.
To adjust boat trailer bunks, I recommend starting on the front section. Loosen the screws that secure the boat bunk brackets and move them upwards until they rest on the hull.
Fasten the screws with a torque wrench, noting the amount of force specified by the trailer manufacturer. Do not overtighten the screws because over-torquing can strip the hardware, damage the pre-taped threading, or snap the screw heads.
Step 4. Adjust the rear boat bunk brackets
Once satisfied with the front boat bunks, you can do the same procedure on the rear bunks. It is the best approach to set up boat trailer bunks instead of doing the reverse.
Loosen the brackets and reposition the trailer bunks until the hull sits securely on the bunks. You can then fasten the screws using the recommended torque.
Step 5. Check your boat again
Rock your boat gently to see if it wobbles or is ‘tipsy’. If so, you might want to perform the procedures from Step 1 again.
If your watercraft sits securely on the rollers and bunks, you have done a marvelous job.
Brinson Marine has an educational video on adjusting trailer boat lift bunks you might consider watching.
A Few More Tips When Adjusting Boat Trailer Bunks
I think you should know a few more tips when adjusting the boat bunks on your trailer.
I recommend checking the bunks’ stability every time you take the boat off the trailer. Bringing your boat from the house to the water can loosen the bunk and roller bracket screws because of vibrations and impact forces. You might hit potholes and other road imperfections.
Performing frequent checks will help you maintain optimum trailer performance and vessel integrity.
Never put your fingers in the space between the hull and the boat bunks, even though I said that 70 percent of the watercraft’s weight is on the keel rollers.
Conclusion
You will feel more confident about your watercraft’s safety, stability, and integrity if you know how to properly adjust the bunks on a boat trailer. Your vessel will sit securely on the carriage, ensuring maximum enjoyment of your water adventures.
Was this tutorial beneficial? If so, do you think your social contacts will also appreciate learning about it? Why not share this article with them then? You can also send me your thoughts, comments, or feedback about this tutorial.

I am passionate about water sports and technical fields, so combining both makes me interested in making contents about boat accessories. With my partner, we went on many trips and sports games together, which led us to think about how we can spread our joys and passions to many people.