
Table of Contents
- Things You Need for This Tutorial
- Steps on Building a Fiberglass Boat at Home
- Step 1. Build a boat mold or prepare an existing watercraft for fiberglass application
- Step 2. Prepare the surface
- Step 3. Prepare the resin and hardener
- Step 4. Apply the seal coat
- Step 5. Place the fiberglass cloth on the resin coating
- Step 6. Apply the bond coat
- Step 7. Apply the fill coat
- Step 8. Apply the final resin coat
- Step 9. Finish the hull
- Step 10. Assemble the boat’s interior components
- Conclusion
Do you have an existing watercraft whose stability and seakeeping abilities you want to improve? Did you ever wish fiberglass boats were more affordable for the average chap? You can address these issues if you know how to build a fiberglass boat.
Building fiberglass boats is no easy task because it requires a fair understanding of boat-building basics and the right tools. However, it is still possible to make a fiberglass watercraft right in your home, and I will show you how in this article. You only have to complete the following steps:
- Prepare your boat
- Get the resin and hardener ready
- Apply resin coats and the fiberglass cloth
- Sand & apply a protective coating on the hull
- Put back the boat’s interior parts
Things You Need for This Tutorial

There are several things you must prepare to build a fiberglass boat at home.
1. Fiberglass Cloth
Fiberglass cloths come in different types, ranging in weight from 4 to 48 ounces per yard. The most common fiberglass cloth for building fiberglass boats is the E-glass, although it is not unusual for some boat builders to use fiberglass mats.
There are also aircraft-grade S-glass fibers, carbon fiber, Kevlar, Nomex, and hybrid cloths.
2. Fiberglass Resin & Hardener
You can look at this material as the glue that fastens the fiberglass fibers together and forms a bond with your boat.
Polyester resin is the most common for boat-building applications, although some people may want to use vinylester. Epoxy resins are the best for fiberglass boat building, but they are expensive.
3. Surface Preparation Tools
You will also need cleaning tools, such as a warm soapy solution, scrub brush, sandpaper, and surface repair materials.
4. Fiberglass Application Materials
Applying the fiberglass resin requires a foam roller. You may also need adhesive tapes, tacks, or staples to secure the fiberglass cloth while waiting for the resin to set.
Steps on Building a Fiberglass Boat at Home
Step 1. Build a boat mold or prepare an existing watercraft for fiberglass application
There are two ways you can make a fiberglass boat. The first is to create a boat mold by borrowing a friend’s watercraft and making a cast from it. Alternatively, you can buy a ready-made boat mold.
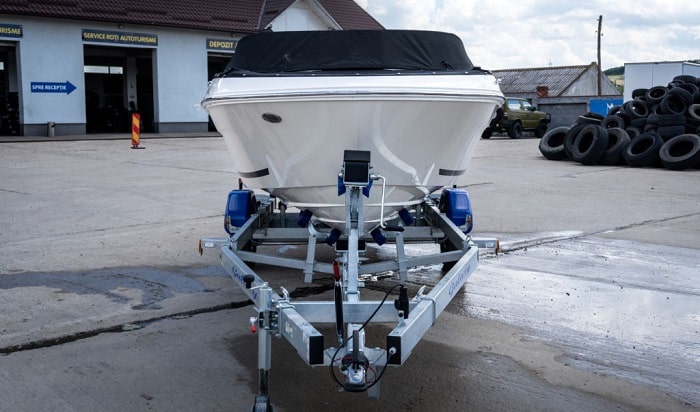
The second option is if you already have an existing watercraft made of a different material. This route is a more practical option than starting with a boat mold.
If you want to build a boat mold, here is an informative video from Basargin Boats about how they create a hull mold.
Step 2. Prepare the surface
Cleaning the boat’s surface is the very first step to a successful DIY fiberglass boat building. It does not matter if it is a mold you are working on or an actual watercraft.
If you are using a mold, it is essential to remove dust and other particles from the surface. You will not want any of these substances to become a part of your fiberglass matrix.
If you are applying fiberglass on your watercraft, it is ideal to remove any exterior component, such as keel, rudder, rails, lift stakes, and others. You will not want fiberglass on these objects.
If there are holes or cracks, fill them up with an appropriate filler before sanding them to ensure a smooth surface.
Sand your boat with coarse-grit sandpaper. Wash, rinse, and dry the surface before you start applying the fiberglass resin mixture.
Pro Tip: If your boat has a large gaping hole, you may want to fix it with an acrylic, laminate, or fiberglass patch. Apply resin before adding another layer of fiberglass cloth. You can repeat the process until you have secured the hole.
Step 3. Prepare the resin and hardener
Check the manufacturer’s instructions on how to mix the hardener and resin. Pay attention to the precise amount of each component because the success of your fiberglass application will depend on the ideal mixture.
If there is more hardener, it would be challenging to apply the fiberglass cloth because the mixture solidifies quickly.
If there is more resin, you might prolong the entire fiberglass application.
Wait about 30 minutes before applying the resin-hardener mixture on your boat’s hull or mold.
Step 4. Apply the seal coat
We call the first resin mixture coating the seal coat because it forms the foundation for the fiberglass cloth.
Use a foam roller to spread the resin-hardener mixture as uniformly as possible on the boat’s surface. It is best to use directional strokes while applying firm pressure on the roller.
Check the resin to ensure it is no longer tacky before you apply the fiberglass cloth.
Step 5. Place the fiberglass cloth on the resin coating
Lay your fiberglass cloth on a flat surface and cut them into panels to cover your boat’s hull. It is okay for the fiberglass to extend beyond the watercraft’s edges because you can trim them once hardened.
Transfer the fiberglass cloth onto the resin coating, ensuring it is flat. Secure the edges with staples, adhesive tape, or tacks. You can overlap several fiberglass cloths to create a more fibrous structure for your boat.
Salt Boatworks has an exciting video on how to fiberglass a boat you might want to consider watching.
Step 6. Apply the bond coat
You might want to sand the fiberglass surface before you apply the second coating of the resin mixture. We call this the bond coat because it sandwiches or secures the fiberglass cloth to the seal coat.
Use a foam roller to apply the resin mixture, ensuring uniform coverage across the hull.
Pro Tip: Remove any tack, staple, or adhesive tape you used to secure the fiberglass cloth before the second resin coating hardens.
Step 7. Apply the fill coat
The next step in fiberglass boat construction is the application of the third or fill coat. This layer thickens the fiberglass layer and seals any gap on the surface.
Wait for it to set and harden before cleaning and sanding it again. This action prepares the surface for the final resin application.
Step 8. Apply the final resin coat
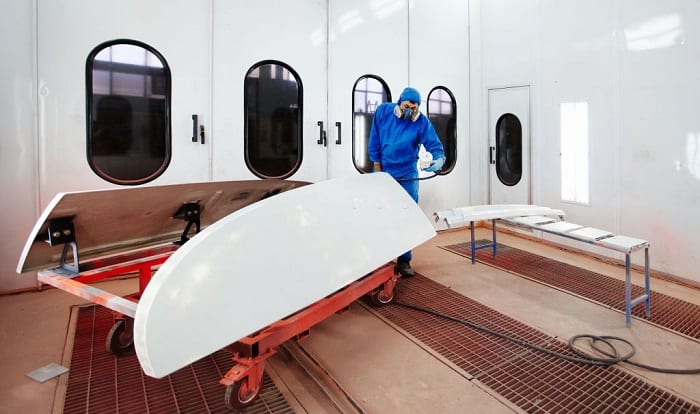
Use your foam roller again to apply the finishing resin coat on the boat’s hull. Since this is the final layer, it would be best to pay attention to its thickness, uniformity, and smoothness.
The coating must be thick enough to allow for a more aggressive sanding after thorough drying.
Step 9. Finish the hull
Leave the boat alone for at least 12 hours after the final resin application before sanding. It would be best to start with low-grit (coarse) sandpaper before smoothing with high-grit (fine) sandpaper.
Apply a boat hull finish, boat paint, or any other protective agent. Always read the product’s instructions on how to apply the solution.
Step 10. Assemble the boat’s interior components
You can begin installing the other parts of the watercraft. You can place the seats, motor, and other components.
Conclusion
Learning how to build a fiberglass boat can open other possibilities. A fiberglass boat makes it safer to go into the water and enjoy what you love the most.
Was this tutorial helpful? I am confident your family and friends will appreciate it if you can share this article with them, too. And if you have comments about this article, I would love to hear from you.

I am passionate about water sports and technical fields, so combining both makes me interested in making contents about boat accessories. With my partner, we went on many trips and sports games together, which led us to think about how we can spread our joys and passions to many people.