
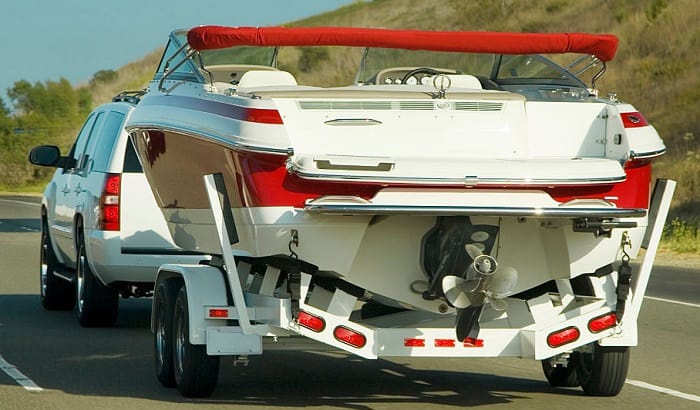
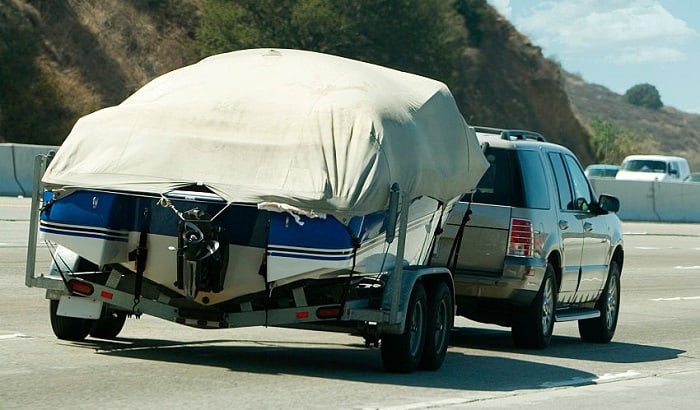
A boat trailer guide post shows the way to easy launching and loading when transporting your boat. It can be bought but some trailers are on the expensive side. If you wish to save some money, you can make it yourself.
Not everyone has enough skills in making one. You’re maybe one of those who have this question in their minds, ‘How to make a boat trailer guide post?’. It’s not nerve-wracking as long as you follow the content of this article. And then, you can build it yourself with the right materials, hardware, and proper way of installation.
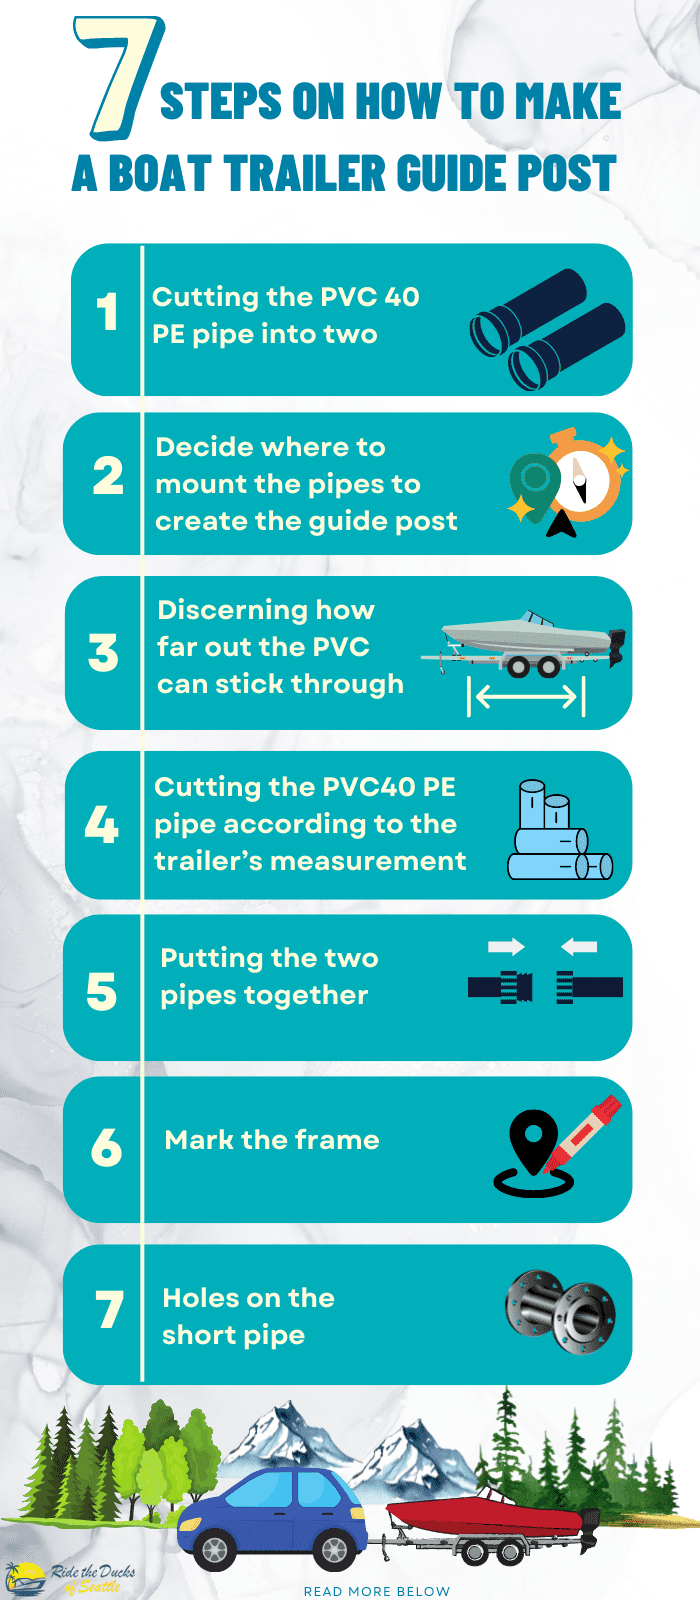
Table of Contents
- Benefits of Having a Boat Trailer Guide Post
- Necessary Steps on Making a Boat Trailer Guide Post
- Preparation
- Step 1: Cutting the PVC 40 PE pipe into two
- Step 2: Decide where to mount the pipes to create the guide post
- Step 3: Discerning how far out the PVC can stick through
- Step 4: Cutting the PVC40 PE pipe according to the trailer’s measurement
- Step 5: Putting the two pipes together
- Step 6: Mark the frame
- Step 7: Holes on the short pipe
- How to Secure the Pipe
- Leveling the Pipe
- Final Words
Benefits of Having a Boat Trailer Guide Post
To inspire you to make a custom-made trailer guide post for your boat, here are the benefits:
- Prevents Damages
Bumping into fenders, frames, or roller brackets can happen if you don’t have the guide post. Think of it as a way of preserving your boat’s good condition.
- Safe Hauling
You have to look closely and try your best to center your boat when placing it on a trailer. It doesn’t mean having an obsessive-compulsive personality disorder, but there’s an advantage to this exertion.
When the boat is centered, its weight is balanced so you can safely run it. What’s more to look forward to is that it will always be stable whenever going around turns, stopping, and taking off.
- Quickly Loading the Boat
With the guide post, you’ll be able to load your boat into the trailer quickly. It guides the boat to place itself in the center without the need for adjustments.
- Gather the Materials and Hardware First
In any do-it-yourself project, you are expected to gather the materials. The ones that you need for the trailer guide post can be found in the garage. However, some would require you to pay a visit to the nearest hardware store.
Even though you still spend on the materials and hardware when making a trailer guide, the total amount is still lower than the price when buying one.
Making your own guide post lets you create something that fits perfectly for your trailer boat. Adjustments and modifications to correspond to your needs are possible.
Once you’ve chosen the parts based on your preference, you can easily adapt to the guide post. To get started, collect the following materials first. However, you can make some changes that complete your plans.
- Measuring or Steel Tape
It would help if you had this to measure the post’s height and for necessary adjustments in the future. Pre-cut the height with the help of a measuring tape to ensure even lines.
- Set of Hardware
The needed set of hardware consists of nuts, washers, and hex bolts. Get four pieces of each part to secure the structure of the guide post at all times. Remember that the size for all of them is 3/8”.
Again, you can change or adjust the hardware parts to complement the size of the post that you like. You should also consider the trailer’s thickness in getting these things.
- PVC 40 PE Pipe
Based on these guidelines’ measurement, you should get a 10-foot long pipe with one 1/4-inch thick. The parts that you need are always open for adjustments just like the length of the pipe.
If you follow the numbers above, a 4-foot tall guide post can be made. Bear in mind that the pipe is the principal guide for the post.
- Elbows and Caps
You need to get two pieces for each part. Ninety degrees elbows will be utilized to connect the pipes while the caps will cover the post.
These parts should have a size that matches the PVC pipes, so there’s a right fitting during installation.
- Cable Ties
Choose nifty ties that are good at holding the PVC pipes together with your trailer. What they can do more is reinforce these parts to keep the post still all the time. Thus, be smart in choosing durable and water-resistant ties.
Necessary Steps on Making a Boat Trailer Guide Post

Preparation
Prepare everything you need before you start working to not waste time. Then, when the materials are accessible, you don’t have to step away from the task to look for them. Instead, place them near the trailer in a spacious area.
Step 1: Cutting the PVC 40 PE pipe into two
To place a pipe for both sides of the trailer, you can equally cut the 10-foot PVC 40 PE Pipe into two. Once again, it’s for the 4 feet tall guide post but you can make it longer as you wish.
You don’t have a cutter to divide the tube into two? Ask someone from the shop to cut it for you. Just inform them of the size and pieces that you like. Or you can purchase two 5-foot-long PVC pipes.
Step 2: Decide where to mount the pipes to create the guide post
It’s important to decide the location for your pipes as they are subject to putting up the frame of the trailer guide post. Your decision will also depend on the design of your trailer.
Some trailers only have space for the pipes to be arranged as posts. To be more precise, some have a specific area for these parts.
Step 3: Discerning how far out the PVC can stick through
Measuring the trailer’s frame is how you can discern how far the PVC can come through. The pipes should have the exact measurement. In the later part, connecting the long and short pipes will be done through the elbow pipe.
Step 4: Cutting the PVC40 PE pipe according to the trailer’s measurement
After cutting a 10-foot pipe into two, you need to cut a portion based on the measurement you gathered from doing step 4. Once done, compare it to the length of the trailer’s frame.
Step 5: Putting the two pipes together
When you put the two pipes together, use an elbow fitting. Finishing off this part requires positioning the frame to the guide post.
Step 6: Mark the frame
Mark the spots on the frame where you will drill the hole for reference by using a marker. These markings should be aligned with the short pipe. When marking two holes, see to it that there’s an adequate gap between them.
Step 7: Holes on the short pipe
Drill through the short pipe when making two holes. These holes should coincide with the marks that you made on the trailer’s frame. One of the holes is for the bolt, which is responsible for securing the pipe.
The other hole, across the first one, should be larger to correspond to the socket wrench.
How to Secure the Pipe
Once all the necessary drillings are done, it’s time for the socket wrench to begin working. It’s the tool that helps you add nuts, bolts, and washers to secure the pipe.
There’s a giant hole in the front side for the completion of this step. After adding the hardware parts, you can add reinforcement from durable ties. Use two ties for each side to result in neatly tightened pipes.
Leveling the Pipe
There’s still a task after all the pipes are secured and tightened. You have to cap their top parts so you can level the tubes and make further adjustments.
It’s what you’ve been waiting for! You now have a trailer guide post for your boat that securely and safely stands up.
Final Words
Once you go through the process of how to make a boat trailer guide post, the result will be flawless. It will give you so much relief as it will be much easier to maneuver your boat. It also works as a visual cue. Besides, you also can refer more to pontoon trailer guides or boat trailer wiring harness to guide your boat better.
You may have realized that you have saved some bucks out of the custom-made trailer guide post. The best part is that you created exactly what you need. If you have something in mind, we love to hear your thoughts. Do not hesitate to comment below for additional insights and suggestions.

I am passionate about water sports and technical fields, so combining both makes me interested in making contents about boat accessories. With my partner, we went on many trips and sports games together, which led us to think about how we can spread our joys and passions to many people.