Wooden boats are excellent DIY projects, especially if you know how to waterproof plywood for boat. These homemade watercraft can make fishing trips and leisure boating more worthwhile.
But if you’re curious about waterproofing your wooden boat, this guide will straighten things out. It doesn’t matter if it’s the cheapest way or a more durable solution you’re looking for. We have you covered.
So, please continue reading to learn how to make your plywood boat as watertight as possible. Let’s start.
Table of Contents
Ways to Protect Plywood From Water
Although you can pick water resistant wood (i.e., western red cedar, maple, cherry, and oak) for your boat-building project, you can follow either of two methods to weatherproof conventional plywood from moisture.
Boaters recommend this technique to waterproof plywood subfloor if you often haul the watercraft off the water after boating. It’s quick, easy, and more practical because the materials are affordable and easily available. Its only downside is that its waterproofing capabilities don’t last long
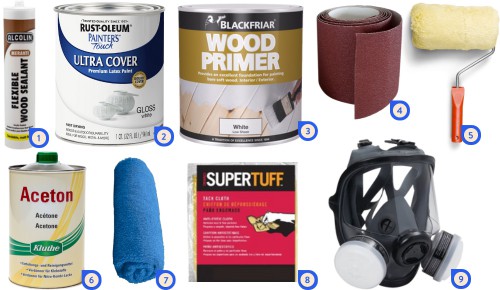
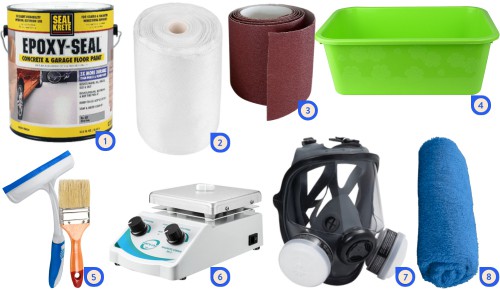
To protect plywood from water with this method, here are the tools you need to prepare:
- Wood sealing agent
- Latex paint
- Primer
- Sandpaper
- Paintbrush or roller
- Acetone
- Rags, towels, and paint sticks
- Tack cloth
- Mask
Step 1. Prepare the plywood.
A clean and smooth surface is necessary for the waterproof sealant and paint to adhere.
- Wipe the plywood with a rag damped with acetone to remove dirt, blemishes, and mold.
- Allow the acetone to dry, which should take 1-2 hours.
- Wear your mask, grab an 80-grit sandpaper, and smoothen the plywood’s surface in a circular motion. For a slicker panel, you can use finer-grit sandpaper.
Step 2. Seal the plywood surface.
This step seals any holes or cracks on the plywood’s surface and prepares it for latex paint application. For better waterproofing, use a marine-grade sealant.
- Read the waterproof sealant manufacturer’s instructions.
- Use the appropriate tool for sealant application. Some brands might require a caulking gun, while others recommend a putty knife.
- Fill the cracks and holes in the marine plywood with sealant.
- Leave the sealant to dry for a day or two, depending on the manufacturer’s recommendations.
- Re-smoothen the surface with sandpaper and clean it again with an acetone-soaked rag.
- Wait for the acetone to dry.
Step 3. Prime the plywood.
A primer ensures optimal paint adhesion, allowing projects to last longer. It also seals the plywood’s porous surface.
- Read the paint primer’s instructions on the correct application.
- Pour some primer into a palette and run the roller. This application method will ensure a thinner layer.
- Alternatively, dip a paintbrush into the can of primer if you prefer a thicker coating.
- Apply the primer on the plywood.
- Leave the primer to dry, which should take about an hour or two.
- Apply another layer to ensure better latex paint adhesion and let it dry.
- Sand and clean the primed plywood after drying.
Step 4. Paint the plywood with latex.
Before starting, note that you shouldn’t pick latex paint for indoor use because its binding resins cannot resist chipping, peeling, and fading.
- Dip your brush into the paint. Alternatively, pour some paint onto a palette and use a roller.
- Apply a fresh coat of paint on the wood surface, including seat plywood.
- Allow the paint to dry before applying another coat.
Pro Tip: In this step, you can also opt for spray-on paint, which will make the process easier. However, it will not last as long as paint-on sealers.
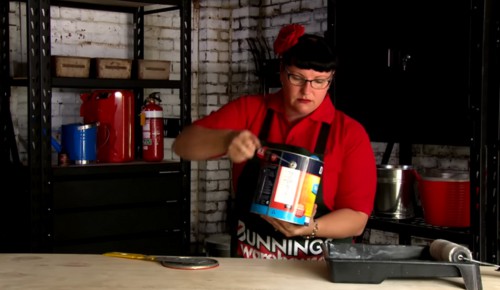
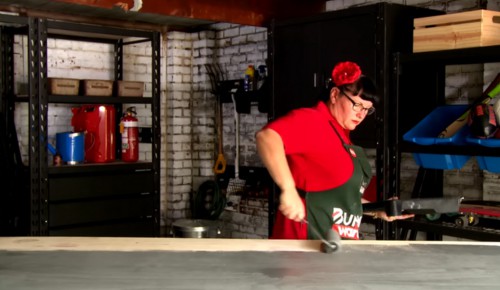
We found this YouTube video by Bunnings Warehouse about painting plywood. It’s not for boats, but the process should be identical.
Compared to the approach above, using fiberglass and epoxy is a more versatile, durable, and permanent solution.
However, this method requires focus and precision to eliminate mistakes, lest you restart the project with fresh materials. What’s more, epoxy doesn’t adhere to poor-quality fiberglass mats, on top of being more expensive than latex paint.
To waterproof your boat’s exterior plywood, prepare the following:
- Epoxy sealer
- High-quality fiberglass cloth (avoid the chopped strands)
- Sandpaper
- Small containers
- Squeegee and paintbrush
- Foam roller and stirrer
- Mask
- Rags
Step 1. Prepare the plywood.
- Put on your face mask to avoid inhaling particles.
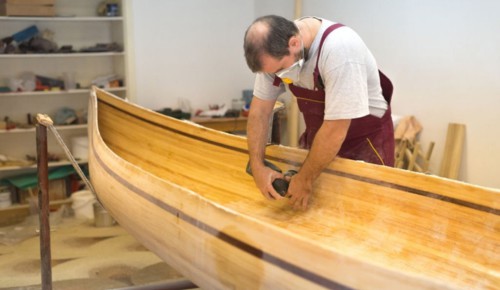
- Smoothen the plywood surface with 60-grit sandpaper, gradually increasing to 120- and 180-grit.
- Remove sanding debris by wiping the surface with a rag or cloth dipped in acetone.
- Wait for the acetone to dry.
Step 2. Apply the fiberglass cloth.
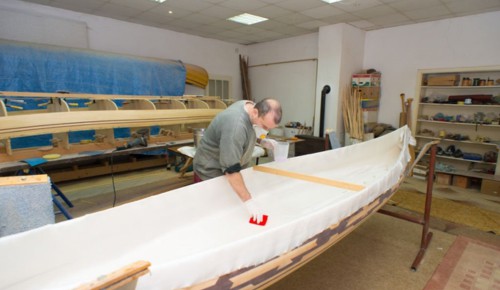
Fiberglass cloth serves as the framework. It’s like a reinforcing structure, allowing the epoxy to adhere to the plywood surface and create a waterproof shell.
This attribute makes fiberglass and epoxy ideal for outdoor use.
- Get the fiberglass cloth and roll it over the boat’s plywood surface.
- Press the fiberglass cloth down with a paintbrush to minimize wrinkles. You’ll want a smooth fiberglass surface.
Step 3. Coat the surface with epoxy.
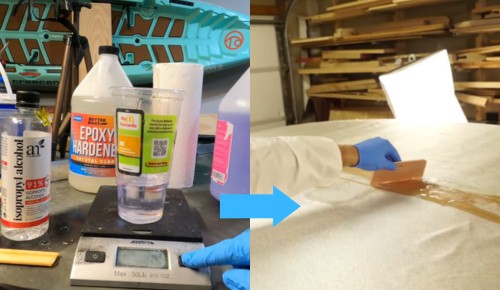
- Read the epoxy manufacturer’s guidelines on the correct resin-hardener ratio.
- Mix the recommended amounts in a small container.
- Pour a bit of epoxy on the fiberglass-covered plywood and spread it evenly with a squeegee.
- Leave the epoxy to dry and harden (about two to three hours).
- Apply a second epoxy coat with a paint roller for better coverage.
- Cure the epoxy before applying a third and fourth coat.
Pro Tip: You can observe the same steps for boat deck waterproofing.
Here’s a video on waterproofing wood with epoxy worth watching.
Conclusion
How to waterproof plywood for boat is never a question of feasibility. It’s more a concern of convenience, skill, and budget. Although one method has the edge in durability, its cost and precision requirements might scare some boaters.
Your decision depends on your boating adventures. If you’re the kind of person who goes on fishing trips daily, the fiberglass+epoxy method is ideal. Occasional boaters can pick the sealant-latex technique.

Ten years of enjoying countless trips on boats never made me love them any less! So I am here to put all those experiences into good use for other boaters who want to have a safe and fun trip with their friends and families.

