

Love cruising calm waters? Fancy going on a fishing trip? Then you will need a wooden boat! However, it is expensive. It is a luxury that some people cannot afford. Luckily, with little knowledge and a lot of time to spare, you can build a wooden boat from scratch.
To build a wooden boat, you need to first make the base or the floor using two portions of wood. With the bottom ready, add the sides, transom, bow, and seat. Sand, paint, and enjoy!
If you are curious about how to build a wooden boat step by step, I got you covered. Keep on reading and I will walk you through each step.
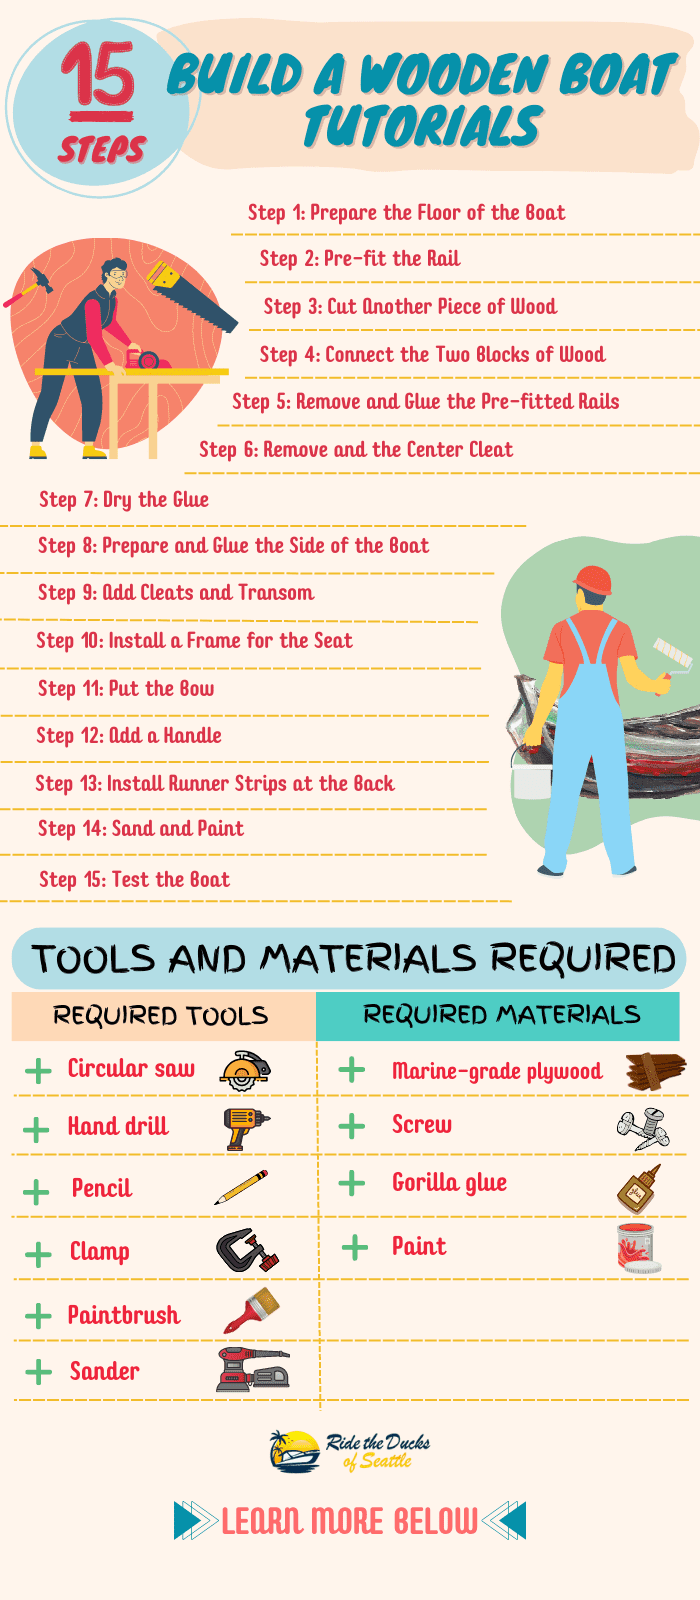
Table of Contents
- What You Will Need to Follow this Tutorial
- How to Build a Wooden Boat Step-by-Step
- Step 1. Prepare the Floor of the Boat
- Step 2. Pre-fit the Rail
- Step 3. Cut Another Piece of Wood
- Step 4. Connect the Two Blocks of Wood
- Step 5. Remove and Glue the Pre-fitted Rails
- Step 6. Remove and the Center Cleat
- Step 7. Dry the Glue
- Step 8. Prepare and Glue the Side of the Boat
- Step 9. Add Cleats and Transom
- Step 10. Install a Frame for the Seat
- Step 11. Put the Bow
- Step 12. Add a Handle
- Step 13. Install Runner Strips at the Back
- Step 14. Sand and Paint
- Step 15. Test the Boat
- Pro Tips
- Conclusion
What You Will Need to Follow this Tutorial
First, gather all the materials that you will need. It is easier to finish a boat when you have everything handy. Here are some that you will need:
- Marine-grade plywood
- Circular saw
- Hand drill
- Screw
- Pencil
- Gorilla glue
- Clamp
- Sander
- Paint
- Paintbrush
- Safety goggles
How to Build a Wooden Boat Step-by-Step
Now that you have the materials on hand, here are the things you need to do. If you need a visual guide on how to do it, watch this video.
Step 1. Prepare the Floor of the Boat
A wooden boat has many parts, and one of the most important is the floor. This is the first thing that you need to make as it dictates the overall shape and structure.
Use large plywood to cut the base of the boat. It is best if it is from a single material, minimizing the need for gluing. The size to cut depends on how small or large you want the boat to be.
Using a full sheet, trim it to a width of 42 inches. In the front of the boat, make an offset of three inches using a circular saw and cut a curve with a height of 24 inches.
Step 2. Pre-fit the Rail
Once the base of the boat is ready, the next part to work is the rail, which is the side of the boat. Make a ¾ inch offset on both sides to determine the placement. Next, put a layer of poplar base, pre-fit, and screw using a hand drill. Do not fully immerse the screw. It just needs to hold the poplar in place. Mark the sides using a pencil.
Step 3. Cut Another Piece of Wood
After completing the first part of the boat, work on the second part. This is another 42-inch of wood with a ¾-inch offset. Once ready, add another base layer of poplar, similar to the step above.
Step 4. Connect the Two Blocks of Wood
With the pre-fitted rails in place, connect the two base blocks of wood. Use a seasoned yellow poplar. Put it exactly on the line where the two parts meet and screw. This will attach the first and second parts of the boat’s floor.
Step 5. Remove and Glue the Pre-fitted Rails
With the poplar connecting the two portions, remove the rails you have earlier pre-installed. Dampen the surface with a wet cloth, which will improve glue bonding. Apply gorilla glue in a zigzag pattern, which will provide enough room to expand. Place the rail on the top of the glue and screw with a drill. Clean any excess glue.
Step 6. Remove and the Center Cleat
After gluing the rail, remove the center cleat – the part that connects the two wooden boards. Prep, clean, and apply the glue similar to what you did above.
Step 7. Dry the Glue
With the base, rails, and cleat glued, let it dry. Wait at least eight hours or overnight, making sure that it has a strong bond.
Step 8. Prepare and Glue the Side of the Boat
Cut the wood to install on the side of the boat. The most important is the way it curves, which will give shape to the boat.
Start with a 12-foot 1×12-inch wood. Measure 8 feet and mark. Measure 10 feet and mark. Trace from one end to the other, making sure that there is a curve. Then, take another 12-foot board and follow the size of the earlier wood. After this, you now have the two sides of the boat ready.
Damp the wood and clean. Glue on the side of the boat. Put the glue on the rail and it will expand once the side has been attached. Apply enough force using a clamp and screw, making sure to follow the arch.
Step 9. Add Cleats and Transom
By now, the boat is slowly taking shape. First, cut a 10-inch long and 8.5-inch-wide wood. Glue and screw on the rear. Once the cleats are in place, cut another piece of wood following the measurement of the back. This is now the transom.
Step 10. Install a Frame for the Seat
At the back cleat, add another base of wood, which will define the seat structure. Similar to what we have been doing earlier, glue, set in place, and screw. Follow the angle of the back. Depending on how many people you want to accommodate, you can install a seat at the back and the middle.
Step 11. Put the Bow
Now that the transom and seat frame are in position, you can add the bow. Cut another wood. Follow the measurements in the front of the boat, including the degree to which it curves. Once done, make sure you add glue and screw.
Step 12. Add a Handle
This should go in the front of the boat. The design may vary, depending on personal preference. This will come in handy when you need to pull the boat in and out of the water.
Step 13. Install Runner Strips at the Back
Turn the boat over and install four runner strips. These should run from the front to the rear. Two strips go on each side and the other two in the middle with equal distances. The strips will prevent abrasions, preserving the structural integrity of the wood.
Step 14. Sand and Paint
You are almost done at this point, but the boat still needs some finishing touches. Use a sander to smooth the surfaces and follow-up by painting. Use marine-grade paint, which will also protect the wood from external damages.
Step 15. Test the Boat
Now is the time to test your new wooden boat! Bring it out in the lake or river and see the marvel you have made. It is best to use this kind of boat in shallow and calm waters. They are not made for harsh environments.
Pro Tips
To build a wooden boat like a pro, keep in mind these tips:
- Use marine-grade plywood. It has a robust construction to withstand tough environments, including water and moisture. It avoids penetration of external elements that can damage the wood over time.
- Start with a plan. Create a drawing or download it online. Make sure that the measurements are marked, providing an outline as you build the wooden boat.
- Round off the angles of the boat. Sharp edges pull away paint and glue through surface tension. The rounder they are, the maximum protection the boat has.
- Do not forget to wear safety goggles, especially when sanding. It prevents eye irritation from dust.
Conclusion
The thought of building a wooden boat from scratch is intimidating. You might instantly be hesitant, thinking that it is an impossible task. Nonetheless, while it is indeed difficult, it is doable. Follow the steps mentioned above about how to build a wooden boat step by step and it won’t take long before you are cruising in a boat you made yourself!
Did you enjoy reading this tutorial? Do you have other boat-building tips to share? Leave a comment below.

I am passionate about water sports and technical fields, so combining both makes me interested in making contents about boat accessories. With my partner, we went on many trips and sports games together, which led us to think about how we can spread our joys and passions to many people.